
One day I asked myself the question : “Is it is possible to make a game in WebGL using the A-Frame framework in 5 minutes or less ?”.
Thinking through this a bit I concluded, that one of the things which take up the most time when you make a game is to create the models, textures, graphics, sound, and of course the game play.
If you take this out of the equation, and you have the data and game play already set, then it should be possible to create a game in a very short time period indeed. However would it be possible to do it in 5 minutes or less ?
Let’s find out.
Gameplay
The first thing to decide when you make a game is the actual game play. I like arcade games which do not require an extensive AI to handle the enemy’s movement. A simple random number generator, in general, and some physics is sufficient for those types of games.
So this time I want to create a game which is a basic shooter however wrapped around a globe. I do not intend in using a real physics engine, such as CANNON.js, as that would be overkill.
The user can change the rotation of his vessel around the globe and he can also adjust the tilt to hit ( or miss ) his target.
This is a simple enough game and can be extended ad infinity with better aliens, moving targets, better sound, graphics, etc however the 5 minute deadline is keeping us within a reasonable limit.
Model, Graphics and audio:
Since these things are unrelated to the actual coding I decided to take these out of the equation and instead use models, graphics, and audio I collected online.
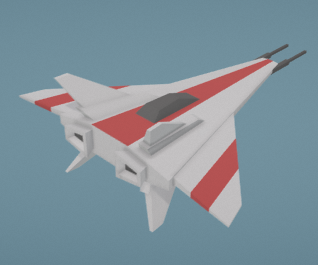
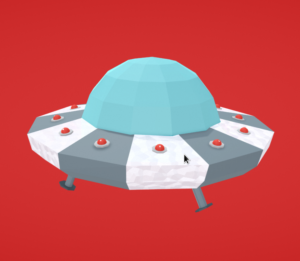
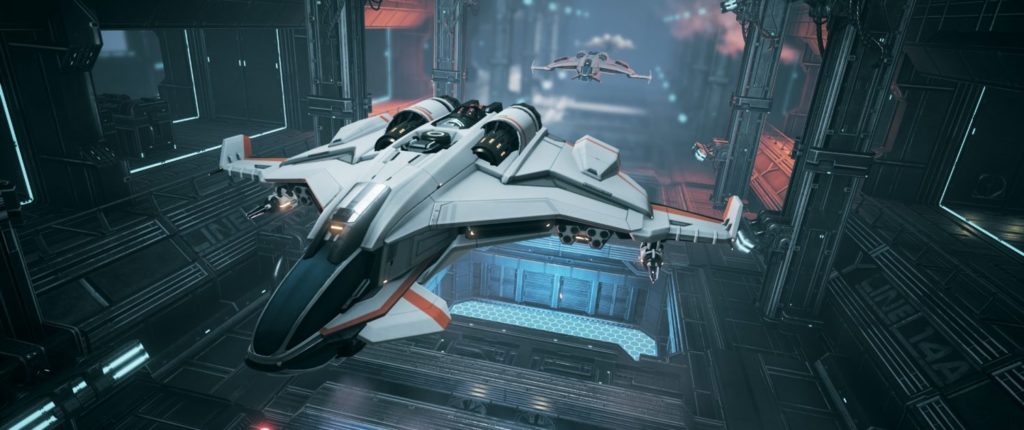
Thankfully there are plenty of online stores for any type of 3D model available. I found this spaceship from Liz Reddington and the UFO by Eric Smith
The same is true for the texture I use for earth. you can find these easily online searching for texture earth. I picked one without clouds because I wanted to have a separate layer for clouds.

I found some ambient background music through FreeMusicArchive from Lobo Loco 
And then finally I found two more audio samples for shooting and for exploding through https://www.freesoundeffects.com.
Welcome scene
I chose to create a welcome scene because I had the template for it around from my previous video on 360° image web app and it also allowed me to place a Object inside the AFrame scene. It is always a nice touch when you make a game.
Using “ctrl” + “Alt” + “i”, I had to tweak the position and rotation of the camera, and the model to make this scene picture perfect. Although it took some time, it gave me the opportunity to use the graphical inspector and to figure out how to debug a 3D scene.
<!DOCTYPE html>
<html>
<head>
<meta charset="utf-8">
<title>360° Game</title>
<meta name="description" content="360° Slideshow">
<!-- https://github.com/aframevr/aframe/raw/master/dist/aframe-v0.7.1.min.js -->
<script src="aframe-v0.7.1.min.js"></script>
<!-- http://cdn.rawgit.com/donmccurdy/aframe-extras/v3.13.1/dist/aframe-extras.min.js -->
<script src="drag-look-controls.min.js"></script>
<script>
AFRAME.registerComponent('start_game',{
init : function ( ) {
this.el.addEventListener ( 'click', function (evt) {
window.location="game.html";
} );
}
} );
</script>
</head>
<body>
<a-scene cursor="rayOrigin:mouse">
<a-assets>
<img id="pano7" src="pano7.jpg">
<a-asset-item id="ship-obj" src="spaceship/Lo_poly_Spaceship_01_by_Liz_Reddington.obj"></a-asset-item>
<a-asset-item id="ship-mtl" src="spaceship/Lo_poly_Spaceship_01_by_Liz_Reddington.mtl"></a-asset-item>
</a-assets>
<a-sky id="pano" src="pano7.jpg" rotation="0 0 0"></a-sky>
<a-entity position="-370.687 222.94 -529.306" rotation="-10 220 0" >
<a-camera drag-look-controls>
<a-cursor id="cursor"></a-cursor>
</a-camera>
</a-entity>
<a-box start_game="" visible="false" width="200" height="100" depth="300" position="-0.35 1.5 -1.0"></a-box>
<a-entity obj-model="obj: #ship-obj; mtl: #ship-mtl" position="-0.35 1.5 -1.0" scale="0.5 0.5 0.5" ></a-entity>
</a-scene>
</body>
</html>
Which will result in
Make a Game
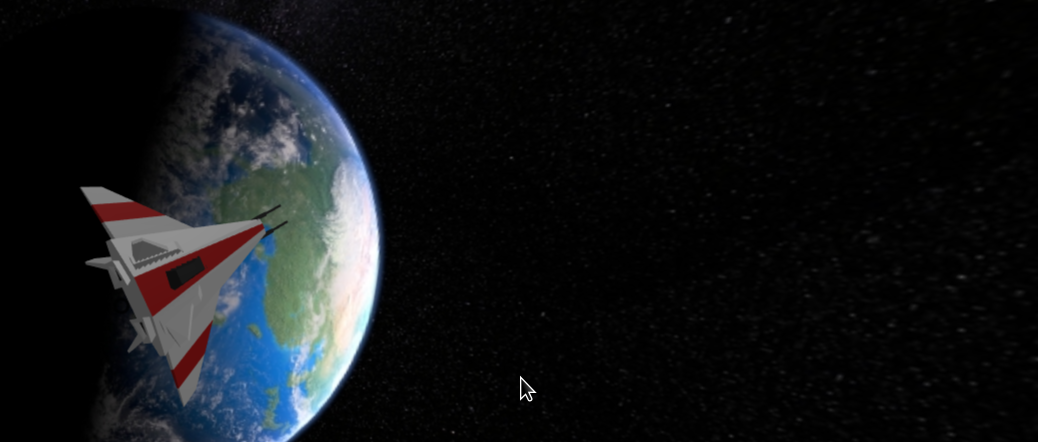
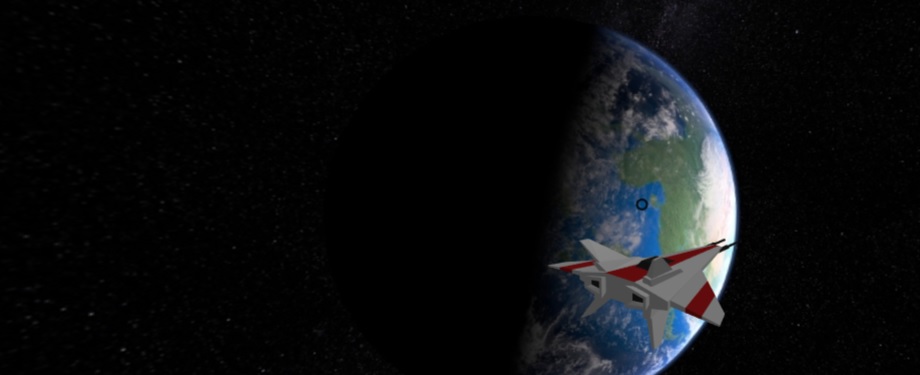
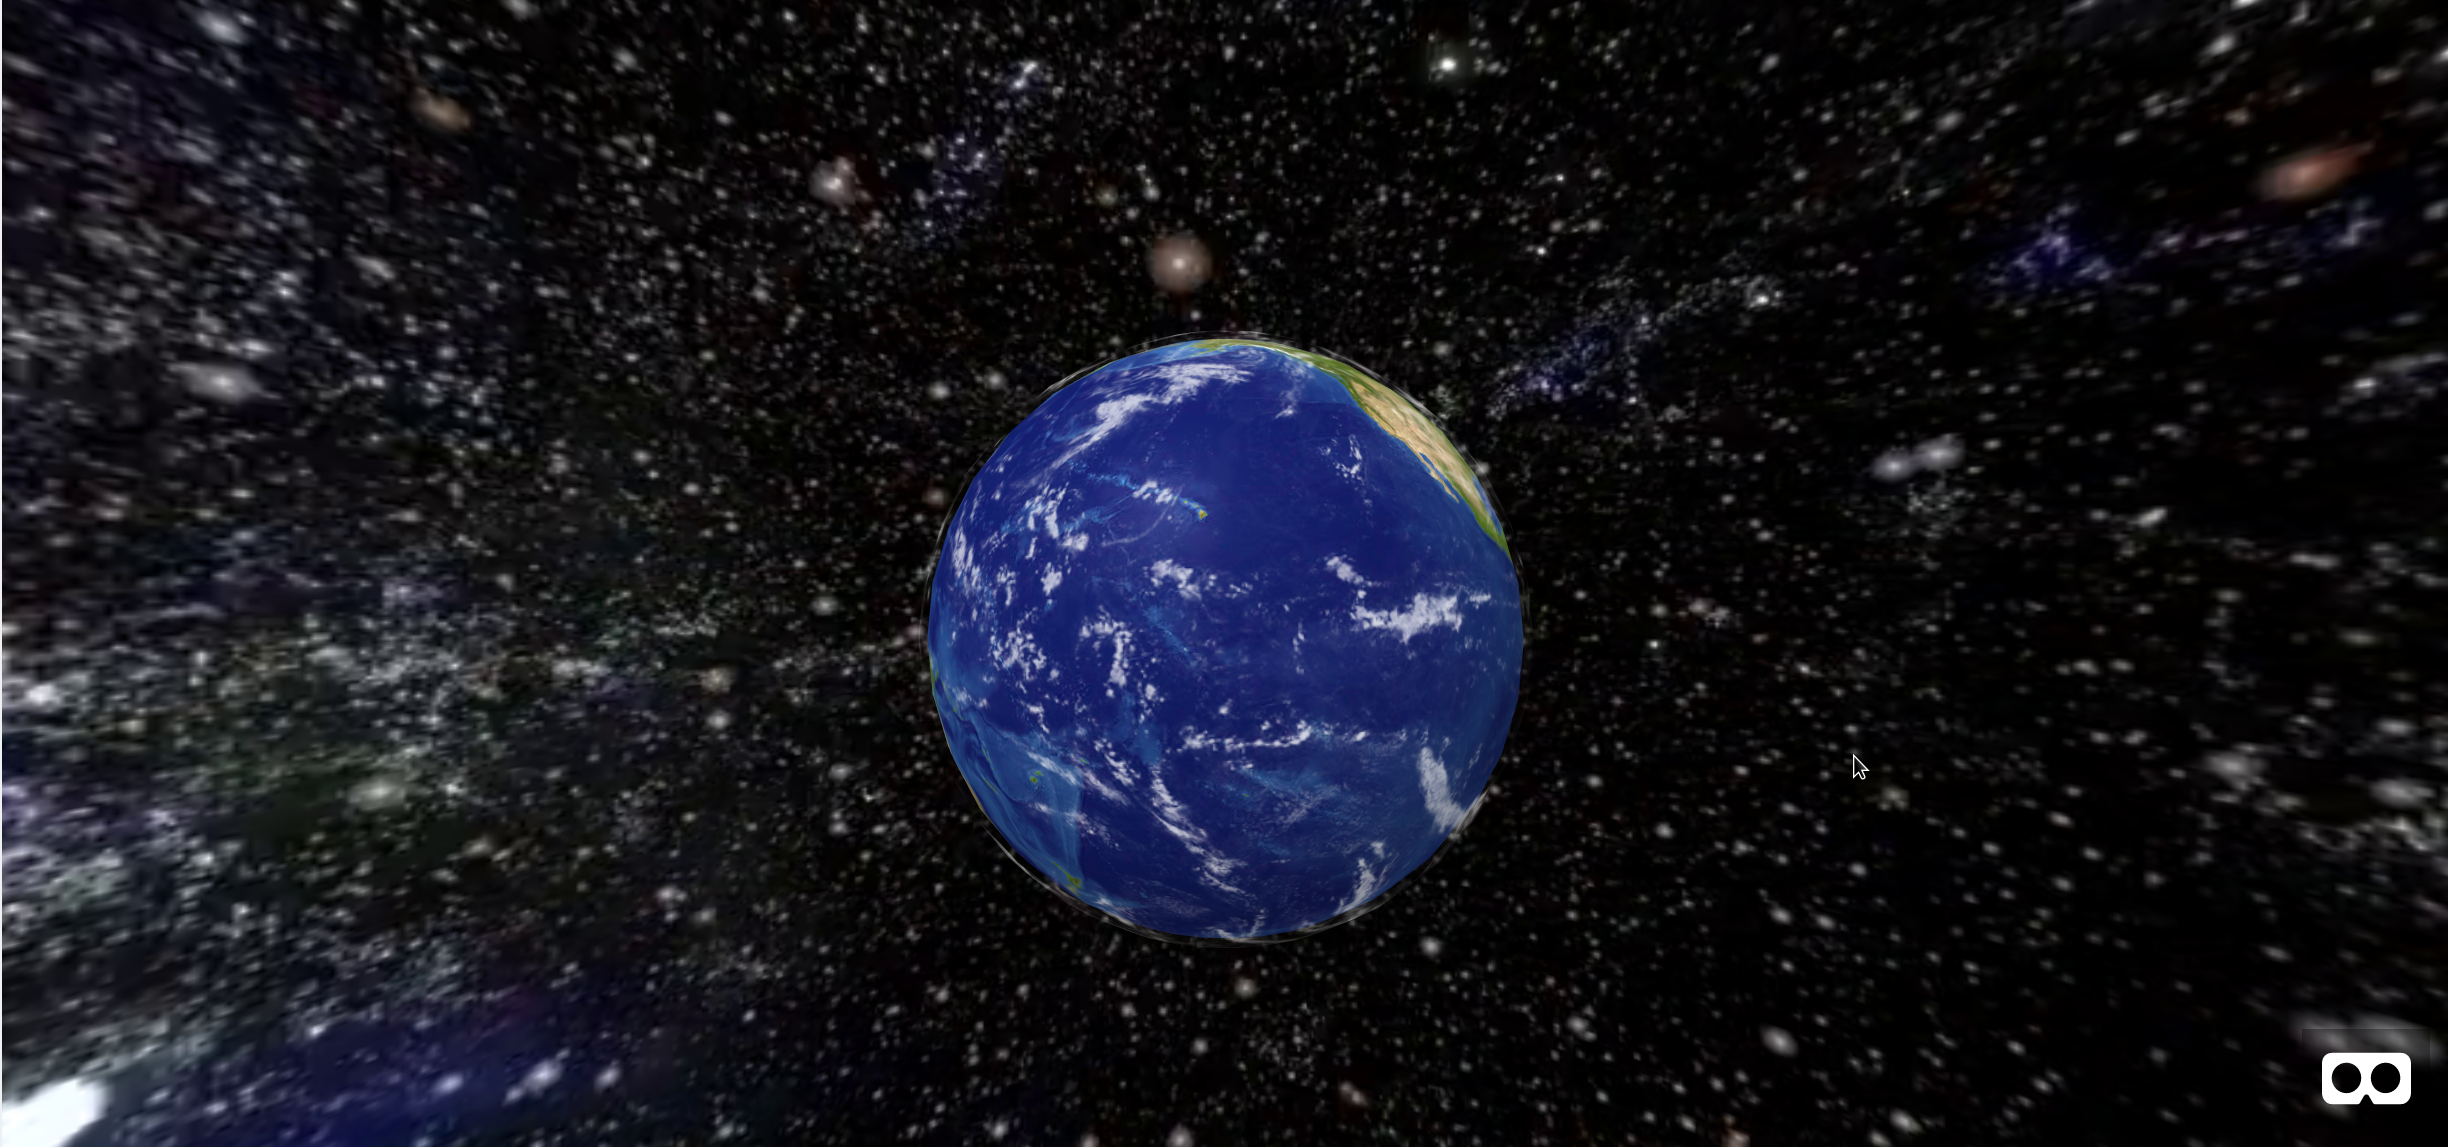
Now with the above I have completed the pre-requisite and am now starting the clock. The main scene is a spinning globe with a starry background. I had a lot of the scaffolding from the initial sample available and all I had to do is to create an additional sphere which I gave the cloud layer which had a slightly increased size as compared to earths radius.
The Animation – tags will take care of the rotation for the earth-texture and cloud-texture so I don’t have to worry about that part anymore.
<!DOCTYPE html>
<html>
<head>
<meta charset="utf-8">
<title>360° Game</title>
<meta name="description" content="360° Slideshow">
<!-- https://aframe.io/releases/0.7.1/aframe.min.js -->
<script src="aframe-v0.7.1.min.js"></script>
<!-- http://cdn.rawgit.com/donmccurdy/aframe-extras/v3.13.1/dist/aframe-extras.min.js -->
<script src="aframe-extras.js"></script>
</head>
<body>
<a-scene cursor="rayOrigin:mouse" physics="debug: true">
<a-assets>
<img id="earth" src="earth-diffuse.jpg">
<img id="clouds" src="clouds_8k.png" >
</a-assets>
<a-sky id="pano" src="background.png" rotation="0 0 0" radius="10000"></a-sky>
<a-entity position="0 0 20" rotation="0 0 0" >
<a-camera look-controls="enabled:false"></a-camera>
</a-entity>
<!-- EARTH and CLOUDS -->
<a-sphere wireframe="false" src="#earth" position="0 0 0" radius="8">
<a-animation attribute="rotation" dur="300000" fill="forwards" to="0 360 0" easing="linear" repeat="indefinite"></a-animation>
</a-sphere>
<a-sphere src="#clouds" position="0 0 0" radius="8.2" material="opacity: 0.8; transparent: true">
<a-animation attribute="rotation" dur="200000" fill="forwards" to="0 360 0" easing="linear" repeat="indefinite"></a-animation>
</a-sphere>
</a-scene>
</body>
</html>
Asset collection
You cannot make a game without a few assets in place. I needed the spaceship, the ufo, the audio, as well as the bullet in the scene. So I added those in to the assets and the scene.
    <a-assets>
      <audio id="background-audio" src="Lobo_Loco_-_07_-_Funnny_Socks_ID_698.mp3"></audio>
      <audio id="shoot-audio"      src="shoot.mp3"></audio>
      <audio id="hit-audio"        src="hit.mp3"></audio>
      <img id="pano7"  src="pano7.jpg">
      <a-asset-item id="ship-obj"  src="spaceship/Lo_poly_Spaceship_01_by_Liz_Reddington.obj"></a-asset-item>
      <a-asset-item id="ship-mtl"  src="spaceship/Lo_poly_Spaceship_01_by_Liz_Reddington.mtl"></a-asset-item>
      <a-asset-item id="ufo-obj"   src="ufo/model.obj"></a-asset-item>
      <a-asset-item id="ufo-mtl"   src="ufo/materials.mtl"></a-asset-item>

      <img id="earth" src="earth-diffuse.jpg">
      <img id="clouds" src="clouds_8k.png" >
    </a-assets>
   <!-- SPACESHIP -->
    <a-entity drag-rotate-component rotation="0 45 0" >
      <a-entity id="ship" obj-model="obj: #ship-obj; mtl: #ship-mtl" position="-11 0 0" scale="0.005 0.005 0.005" rotation="300 90 0" ></a-entity>
    </a-entity>
    <!-- UFO -->
    <a-entity id="ufo-pos" rotation="0 130 0" >
      <a-entity class="ufo" id="ufo" obj-model="obj: #ufo-obj; mtl: #ufo-mtl" position="-9 0 0" scale="1.0 1.0 1.0" rotation="0 0 0" ></a-entity>
    </a-entity>

    <!-- BULLET -->
    <a-entity id="bullet" rotation="0 45 0" >
      <a-sphere id="beam" position="-11 0 0" radius="0.2" material="color: #F84" sphere-collider="objects: .ufo; radius: 0.5"></a-sphere>
      <a-animation id="anim" begin="startAnimation" end="endAnimation" attribute="rotation" dur="3000" fill="forwards" from="0 0 0" to="0 0 -360" easing="linear" repeat="indefinite"></a-animation>
    </a-entity>

This seems like a lot of code but it is mostly cut-and-paste and some size adjustments. This turned out to be straight forward as I have learned how to use the visual inspector previously.
All actual objects are encapsulated in another, outer a-entity. The reason for this is that we want to place the objects outside of earths radius by adjusting the position and then use the rotation on the outer entity for the game play.
The drag-rotate-component part on the Spaceship allows us to use the mouse to move the spaceship rotation around the globe as well as the tilt of the spaceship.
When you make a game you have to be able to detect when things collide. In order to have A-Frame detect the collision of two objects, I utilized the Sphere collider which was as simple as adding sphere-collider=”objects: .ufo; radius: 0.5″ to the bullet – object.
The coding part
With the scene complete and all objects in place I could go ahead and customize the ‘drag-rotate-component’ component.
Here again we have a lot of cut-and-paste code which takes care of binding the mouse events to their callback functions and initializing the objects as well as starting the background audio.
Please note the way the collision is detected for the sphere collider this.ufo.addEventListener ( ‘hit’, this.OnCollission.bind ( this ) );.
Finally, We are randomly placing the UFO into the scene in the last line of the initialization function. However we have to make sure the user can see it ( so it can’t be placed behind earth ).
<script type="text/javascript">
    AFRAME.registerComponent('drag-rotate-component',{
      schema : { speed : {default:1}},
      init : function(){
        this.ifMouseDown = false;
        this.x_cord = 0;
        this.y_cord = 0;
        this.distance= 11.0;
        this.rotX = -1.49;
        this.rotY =  0.0;
        document.addEventListener('mousedown',this.OnDocumentMouseDown.bind( this ) );
        document.addEventListener('mouseup',  this.OnDocumentMouseUp.bind  ( this ) );
        document.addEventListener('mousemove',this.OnDocumentMouseMove.bind( this ) );
        document.addEventListener('keyup',    this.OnDocumentKeyDown.bind  ( this ) );
        this.beam   = document.getElementById ( "beam" );
        this.bullet = document.getElementById ( "bullet" );
        this.anim   = document.getElementById ( "anim" );
        this.ship   = document.getElementById ( "ship" );
        this.ufo    = document.getElementById ( "ufo" );
        this.ufoPos = document.getElementById ( "ufo-pos" );
        this.ufo.addEventListener ( 'hit', this.OnCollission.bind ( this ) );
        var audio = document.getElementById ( "background-audio" );
        audio.play ( );
        audio.volume = 0.4;
        audio.loop   = true;
        this.setUfoPosition ( );
     },
     setUfoPosition : function ( )  {
        var rotY = Math.random ( ) * 180;     // betweeen 0 and 180
        var dist = Math.random ( ) * 2 + 8.5; // between -8.5 and -10.5
        console.log ( "DIST: " + dist + " WHERE : " + rotY );
        this.ufoPos.setAttribute ( "rotation", "0 "+rotY+" 0" );
        this.ufo.setAttribute ( "position", -dist + " 0 0" );
      }
    } );
  </script>
Call me maybe
Lets take care of the callback functions we defined here first which build the core of the game.
      OnCollission  : function ( e )  {
        e.preventDefault ( );
        this.stopShot ( );
        this.ufoExplode ( );
      },
      OnDocumentKeyDown : function ( e )  {
        if ( e.keyCode === 32 ) { // spacebar
          e.preventDefault ( );
          this.shoot ( );
        }
      },
      OnDocumentMouseDown : function ( event )  {
        this.ifMouseDown = true;
        this.x_cord = event.clientX;
        this.y_cord = event.clientY;
      },
      OnDocumentMouseUp : function ( )  {
        this.ifMouseDown = false;
      },
      OnDocumentMouseMove : function ( event )  {
        if ( this.ifMouseDown )  {
          var temp_x = event.clientX-this.x_cord;
          var temp_y = event.clientY-this.y_cord;
          if ( Math.abs ( temp_y ) < Math.abs ( temp_x ) )  {
            var  rotY = temp_x*this.data.speed/300;
            this.rotY = this.el.object3D.rotateY ( rotY ).rotation.y;
            this.bullet.object3D.rotateY( rotY );
          }
          else {
            var  rotX = temp_y*this.data.speed/500;
            if ( rotX > 0 && this.rotX === -1.0 )
                return;
            if ( rotX < 0 && this.rotX === -1.5 )
                return;
            this.rotX = this.ship.object3D.rotateX ( rotX ).rotation.x;
            if ( this.rotX > -1.0 )
                 this.rotX = -1.0;
            if ( this.rotX < -1.5 )
                 this.rotX = -1.5;
          }
          this.x_cord = event.clientX;
          this.y_cord = event.clientY;
        }
      }
The main function here if the OnDocumentMouseMove as expected since we have to calculate the new location and angle of the spaceship. It took some experimenting to get the values for the tilt right but overall this was not too painful.
just shoot me now
Okay so here is the interesting part. We want to make a game where we can shoot at something. For that we will have to implement a few functions now as well.
The lockAndLoad function will place the bullet back in the spaceships core.
animate will request the next animation frame until we have either detected a collision ( see OnCollission ) or until the bullet falls into earth.
shoot and stopShot should be self explanatory.
      lockAndLoad : function ( )  {
        var  rotY = this.rotY * 180.0/Math.PI;
        this.beam.object3D.position.x = -11.0;
        this.bullet.object3D.rotation.z = 0.0;
        this.bullet.object3D.rotation.order = "ZYX";
        this.anim.setAttribute ( "from", "0 "+rotY+" 0" );
        this.anim.setAttribute ( "to", "0 "+rotY+" -360" );
        this.anim.data.from="0 "+rotY+" 0";
        this.anim.data.to="0 "+rotY+" -360";
      },
      shoot : function ( )  {
        document.getElementById ( "shoot-audio" ).play ( );
        this.lockAndLoad ( );
        this.beam.emit ( "startAnimation" );
        this.animate ( );
      },
      stopShot : function ( )  {
        this.beam.emit ( "endAnimation" );
        this.lockAndLoad ( );
        // Stop animation
        this.beam.object3D.position.x = 0.0;
      },
      animate : function ( )  {
        var self = this;
        if ( this.beam.object3D.position.x > -7.5 )  {
          this.stopShot ( );
          return;
        }
        // this.rotX defines the speed of the descend
        // this.rotX in range of [-1.5 .. -1.0]
        var delta = (this.rotX+1.5) * 2; // Normalized value [0 .. 1]
        delta = 0.01 + delta* 0.1;

        this.beam.object3D.position.x += delta;
        function handle ( )  {
           self.animate ( );
        }
        window.requestAnimationFrame( handle );
      }
The only remaining function is to handle the case when the UFO is hit.
      ufoExplode : function ( )  {
        document.getElementById ( "hit-audio" ).play ( );
        this.setUfoPosition   ( );
      }
and you are done
Cool so if you point your browser to your shiny new game you can actually spend some relaxing time with this.
You can also use this code and expand on it and make a game which has multi-player capabilities, using E.g. WebRTC for browser-to-browser communication. Then one player could navigate the UFO, the other could navigate the spaceship. Or you can add in an explosion or you can change the camera view or you can ….
Resources
Find the video for this tutorial below
Please follow this link here … to play with the code.
The possibilities are endless …
Since we have mastered 3D and the basics for gameplay it is now up to your imagination to get all out …
Hi there,I check your blogs named “Create a 3D game in 5 minutes using AFrame | The Software Samurai” daily.Your story-telling style is awesome, keep up the good work! And you can look our website about free proxy.