
Building a video doorbell requires little more than curiosity, a good grasp on software and very basic know-how on hardware.
For example, I did not even have to design or solder a single circuit so far, as the Raspberry PI Zero W allows you to use its internal pull-down or pull-up resistors.
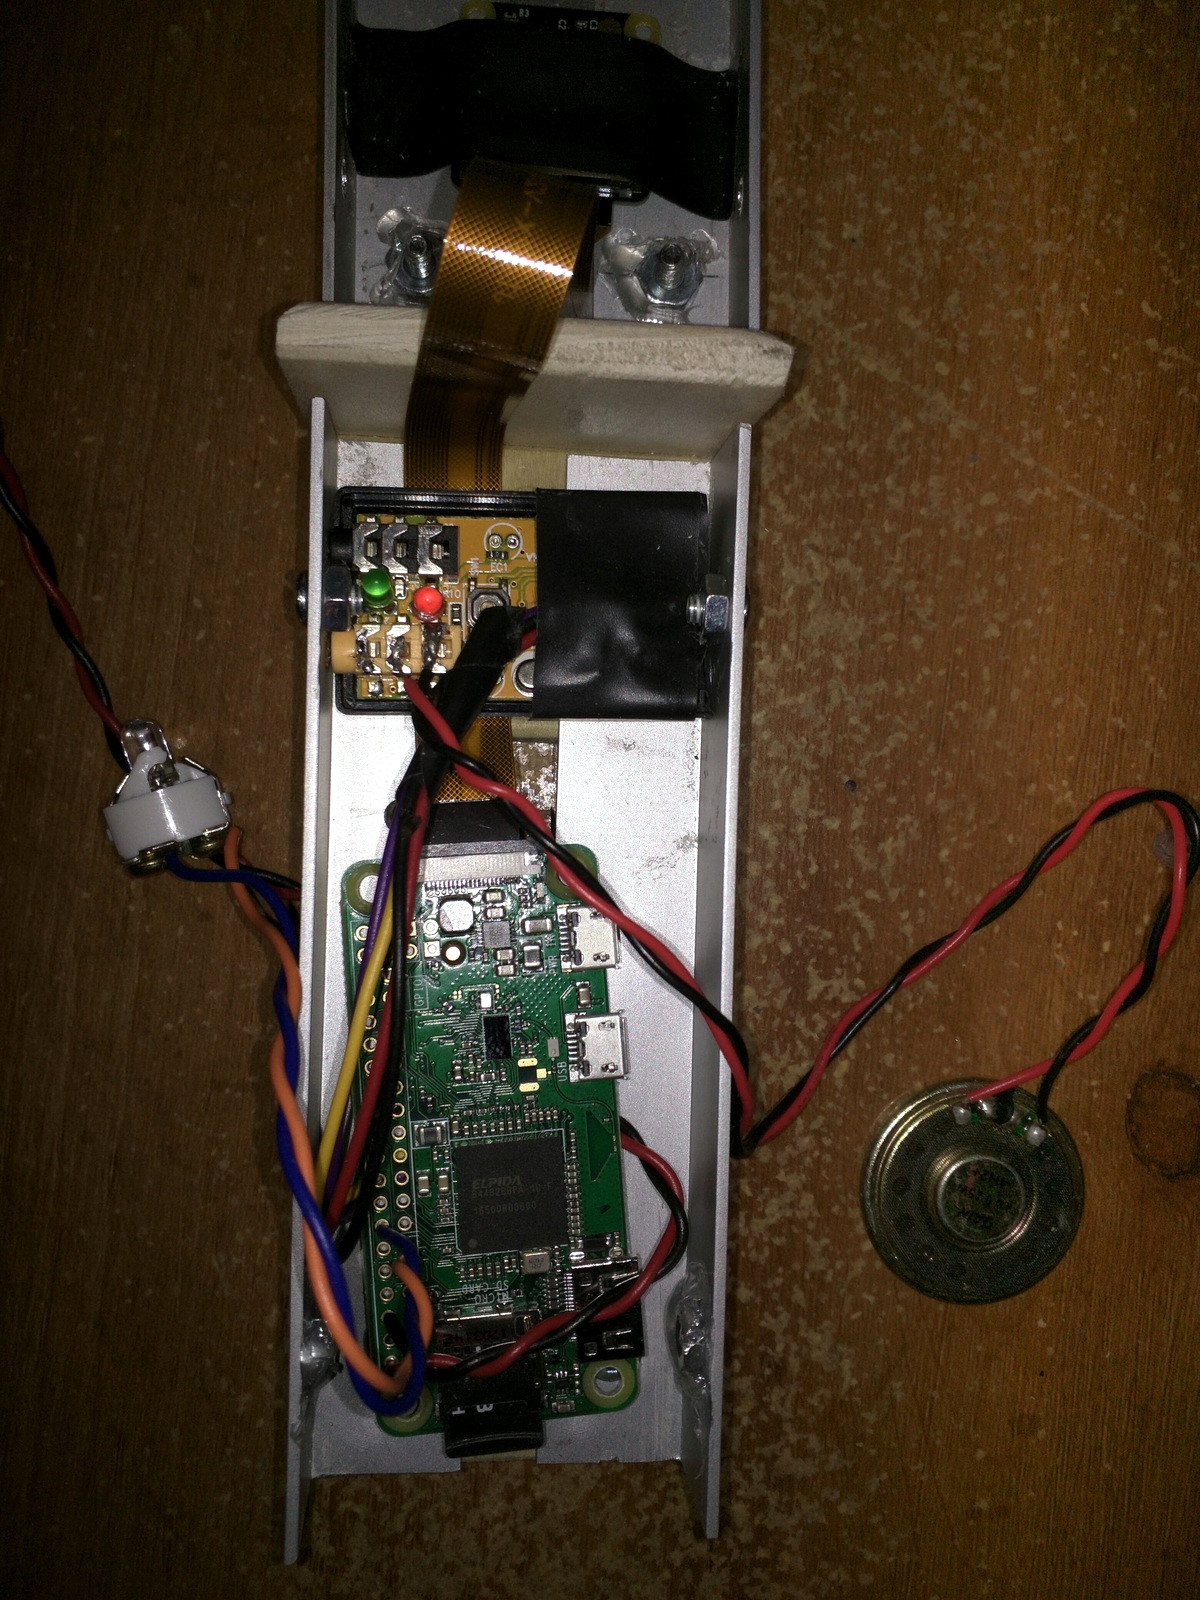
For the past two weeks I have been working on building a Video Doorbell. I build all the pieces, connected the electronic side, and installed OS and software packages. Now we are starting to see results.
Video Doorbell Chassis:
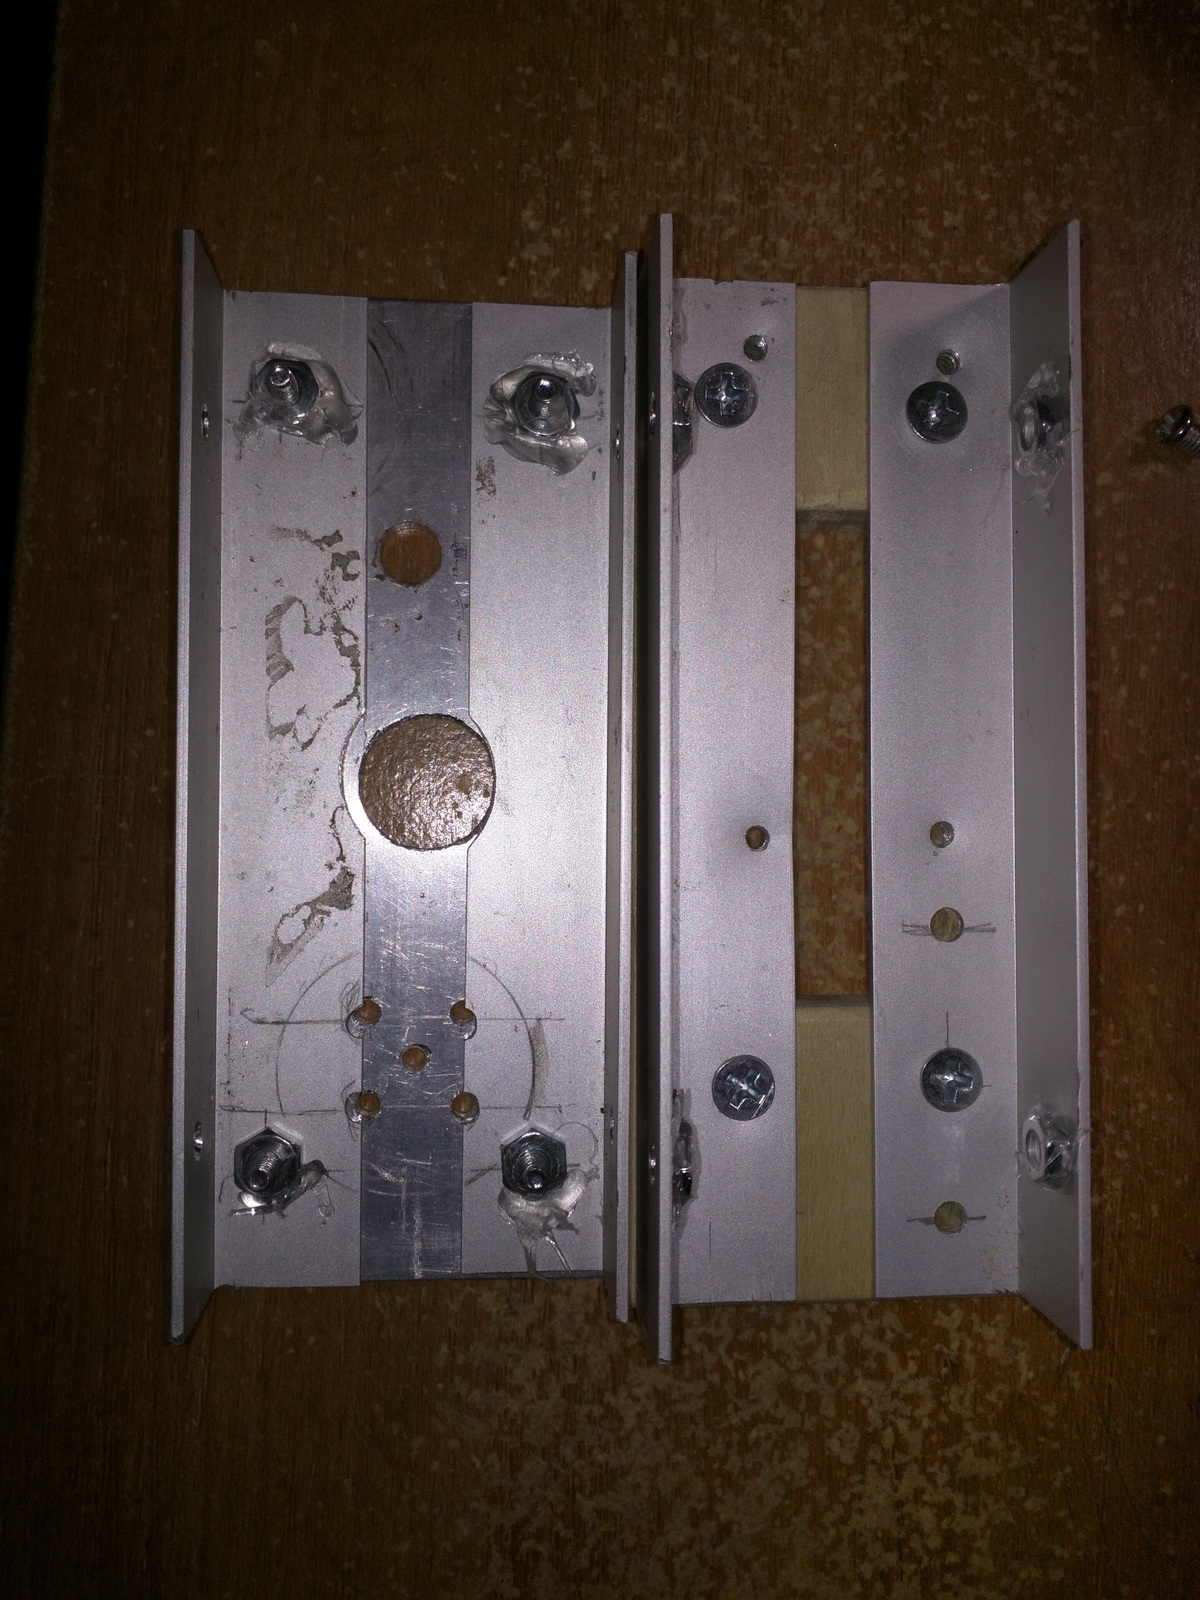
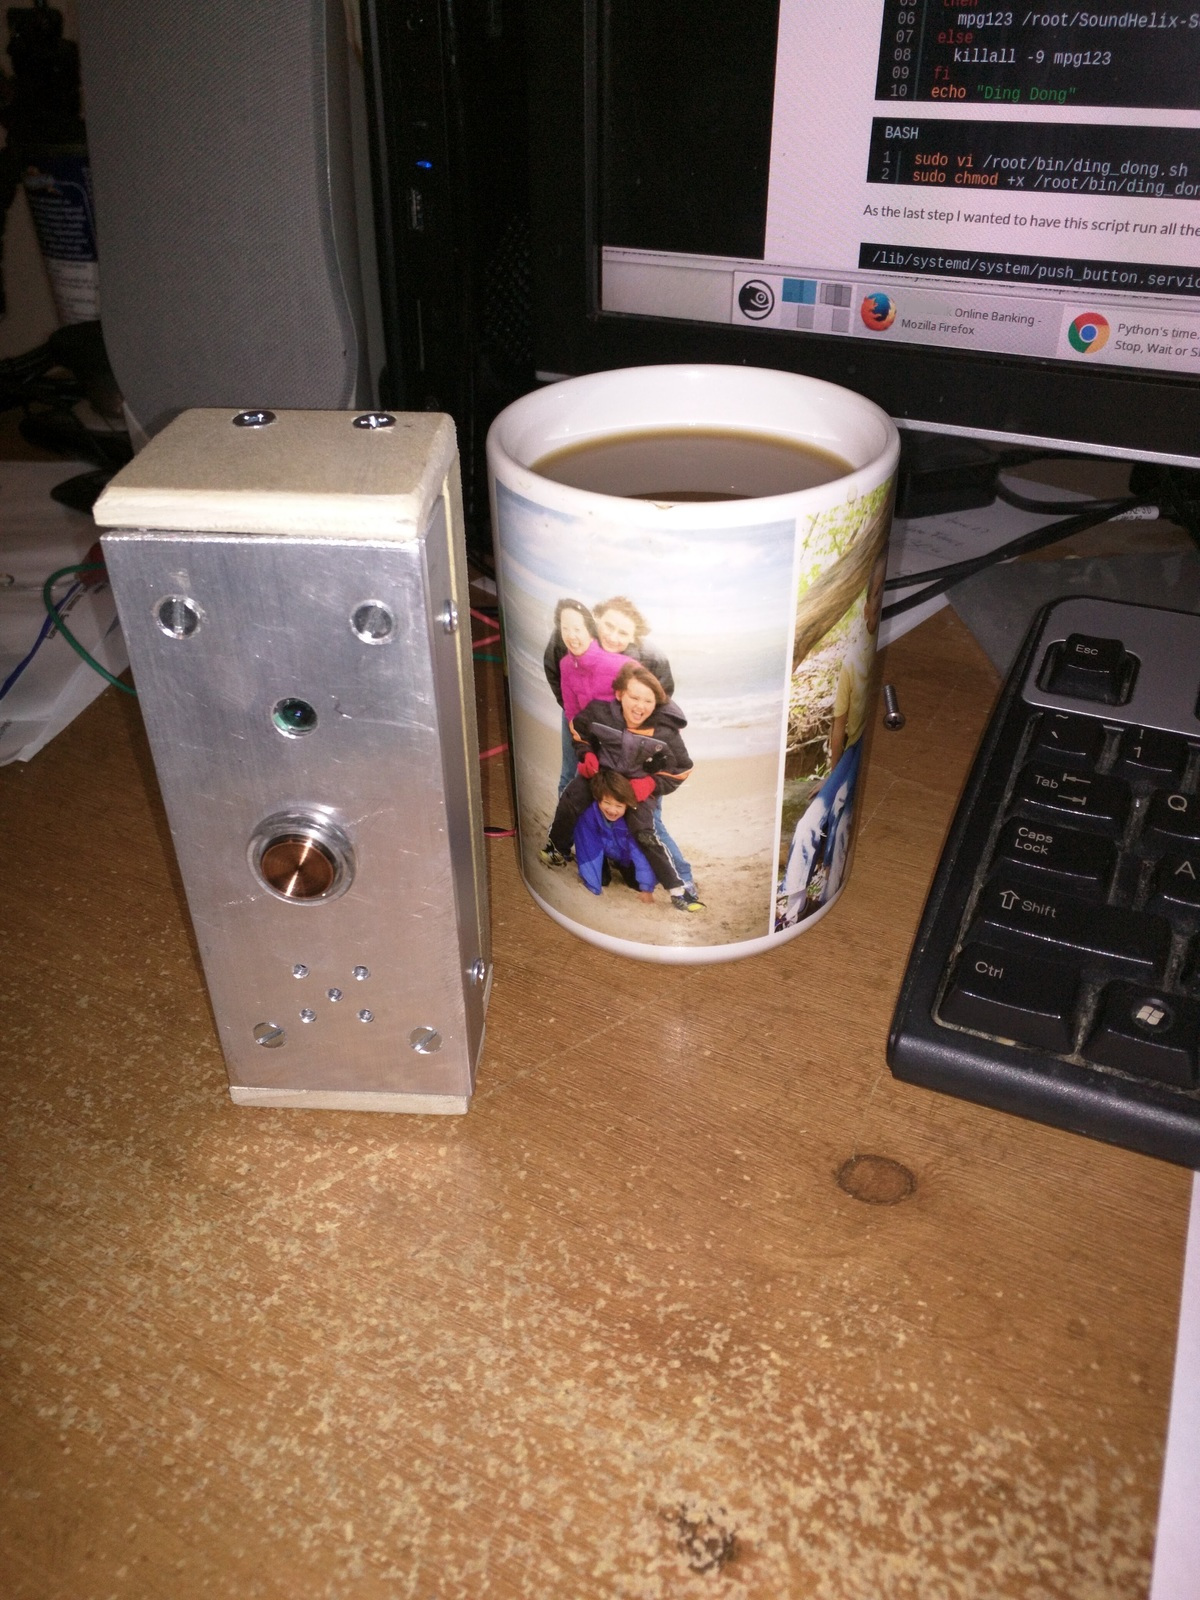
I have finally been able to pack all into one chassis and close it in.
There are still a few items remaining …
- Add the microphone ( waiting for delivery )
- Properly configure WebRTC to connect from outside the home network.
- Write the Android / iOS apps to receive the notifications.
- Connecting our current wireless doorbell button to the back of the chassis.
- Spray paint the chassis
- Connecting the power source to the Video Doorbell
- Screwing it to the door.
I have prepared our existing doorbell button by adding two wires to overwrite the push button. These two wires will simply connect to the new button on our Video Doorbell. I will not need to worry about a power supply for this part of the system as it is powered by its own little battery. I will leave that battery in place as is.
The mechanical, and electrical challenges are nearly solved and the most important remaining bits are now in software.
Video Doorbell Software:
I created a placeholder for the required software pieces in GitHub.
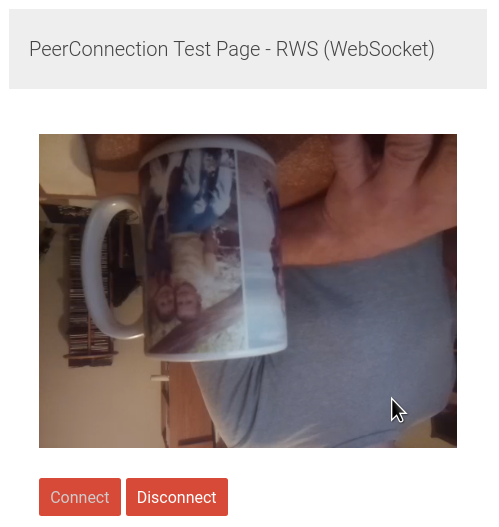
Below is a screenshot from the RPI-WebRTC-Streamer web page, connecting to the camera. I have found the connection to be quite unreliable and will have to make sure that there is a much more solid connection rate possible before I go ahead and expose the interface to the outside.
Once you connect you can see that the video is upside-down. That is due to wiring constraints, which forced me to mount the camera upside-down into the chassis. However this will be an easy fix in software.
Fun-fun-fun
Today I have weed my door as the previous wires were cut and left dead. Another unexpected surprise came when I realized that there are no remaining power outlets left in the basement.
So tomorrow I will have shut down the power to our basement, wire a power strip to a power hub and screw it into the wall.